Panther Thaumatropes / 2 Page Flipbooks

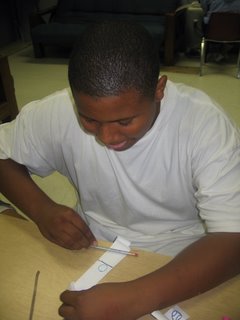
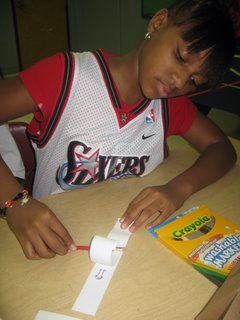
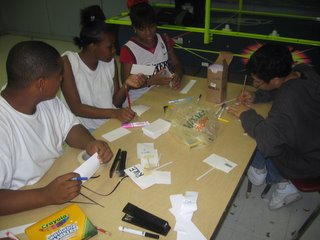
Hey gang. Hope everyone survived the arctic front and fared the cold weather. Now back to business of blogging. We started our animation cycle out at Panther a couple weeks ago, which has met some successes and some challenges. Here's the layout of our first activity of several...
Thaumatropes / 2 Page Flipbooks
Big Idea: As an introduction animation, we wanted to start basic to encourage the teens so they felt an instant confidencein the field. These first two activities demonstrate how easily our eyes are fooled and therefore the basic idea of how animation works.
Dates: Monday, November 14th
Groups Participating: Panther Teens
Attendance: Gabe, myself, and about 5 or 6 stopped by and gave each activity a try.
Software: None
Hardware: None
Materials:
Thaumatropes - Straws, blank index cards, stapler and staples, tape, markers
2 Page Flipbooks - 8" wide by 1" tall wide strips of paper, stapler and staples, markers
Directions:
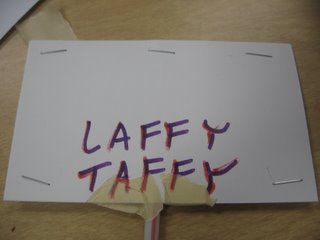
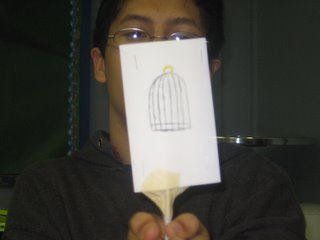
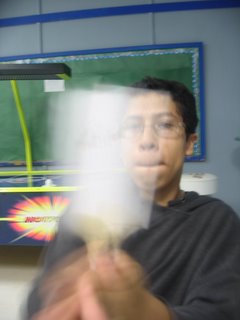
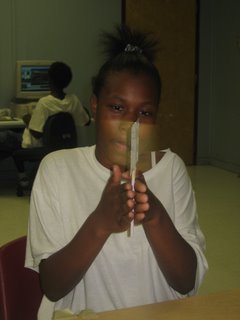
Thaumatropes - Take two blank index cards, and on one side of a card draw an image. On the other card, draw an image that will overlay the first image. Be sure the images you want to overlay are at the same place on each postcard. This can be done by drawing the first image, then laying the second card over the first image and tracing based on that. For example, if a t-shirt is drawn on the first card, lay the second card ontop, then trace the image you want on the t-shirt inside of it, therefore it will be superimposed onto the shirt. Next, staple the 2 blank index cards with thier drawings facng outward together at the 4 corners. Place a straw inside the center of the two either vertically of horizontally orientated cards. Staple the top of the straw to the top inside of the cards. Then tape the bottom of the cards to the straws to stabalize the straw to the cards - DO NOT staple the bottom of the cards to the straw for it will bend the straw and ruin the effect of the animation. Finally, hold up your thaurmatrope and roll the straw fast between your two hands. It seems superimposed animation works best with this activity as opposed to movement animation. Save movement for the flipbooks. Words are also tricky if trying to write left to right, however up and down word swork just fine. This activity is all about experimenting to see what works best.
2 Page Flipbooks - Using two long 8" wide by 1" tall slips of paper, draw an image on the first sheet. Then place the second sheet evenly over the first, and trace the image nearly exactly, however, make a minor change that will be the movement. For example a stick figure standing on two feet on the first one, and the same figure with his leg kicking in the next. Its best if your images are about an inch away from one end of the slips. Staple the slips of paper together evenly at the end furthest from your drawings. Next, using a pencil on its side, roll up the top slip of paper and your first drawing, starting away from the staple and rolling towards it, to make it curl. Finally, take your pencil and lie it flat against a table with the curled paper in between at the non-stapled end to straiten it, then scrap it toward the staple and then away in a fast back and forth motion.
Associated Concepts: Learning the basics behind animation and how our mind and eye work.
Best Part: How into one activity or the other the teens got, including how excited they got to see my "shake dat laffy taffy" thaumatrope.
Worst Part: How for some of the teens the activities held thier attntion for less than a minute. Differant strokes for differant folks I guess.
Improvements: To keep attention of the teens, perhaps create some challenges, like "Make a flipbook that shows your proudest moment" or "Make a flipbook that shows your most serious injury". This can be applied to the next activities as well.


0 Comments:
Post a Comment
<< Home