Tuesday, May 23, 2006

Panther L.E.D. Races

Big Idea: Logoblocks competency through learnng to program L.E.D.'s FAST!

Date: Monday, May 1st and Wednesday, May 3rd

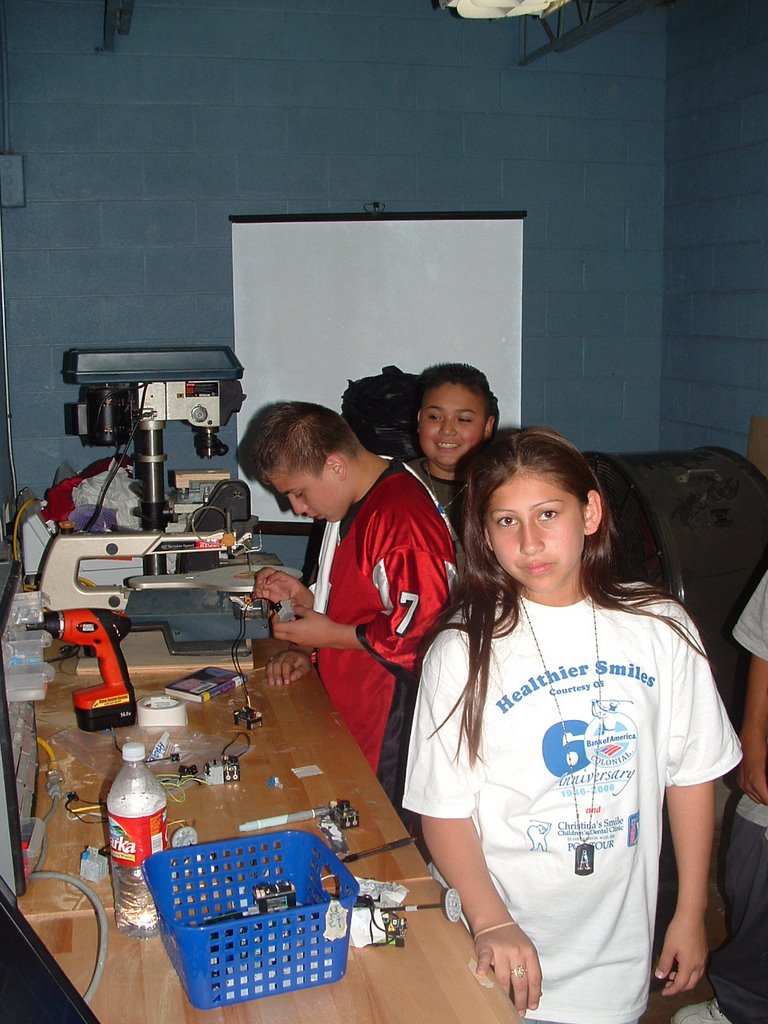
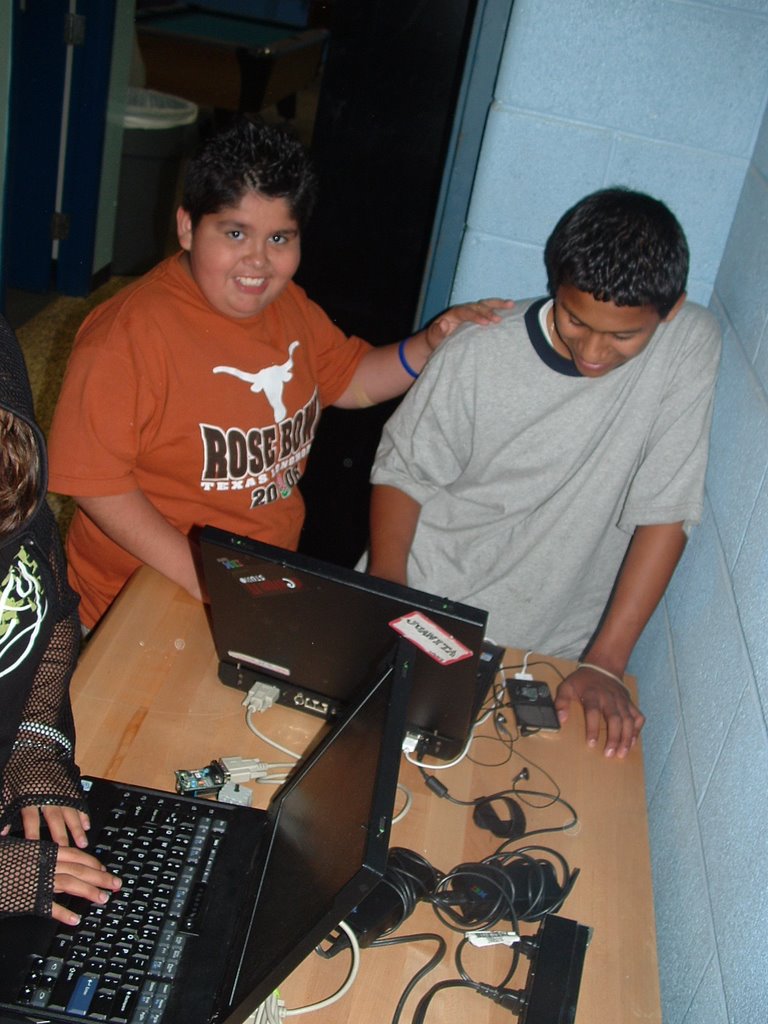
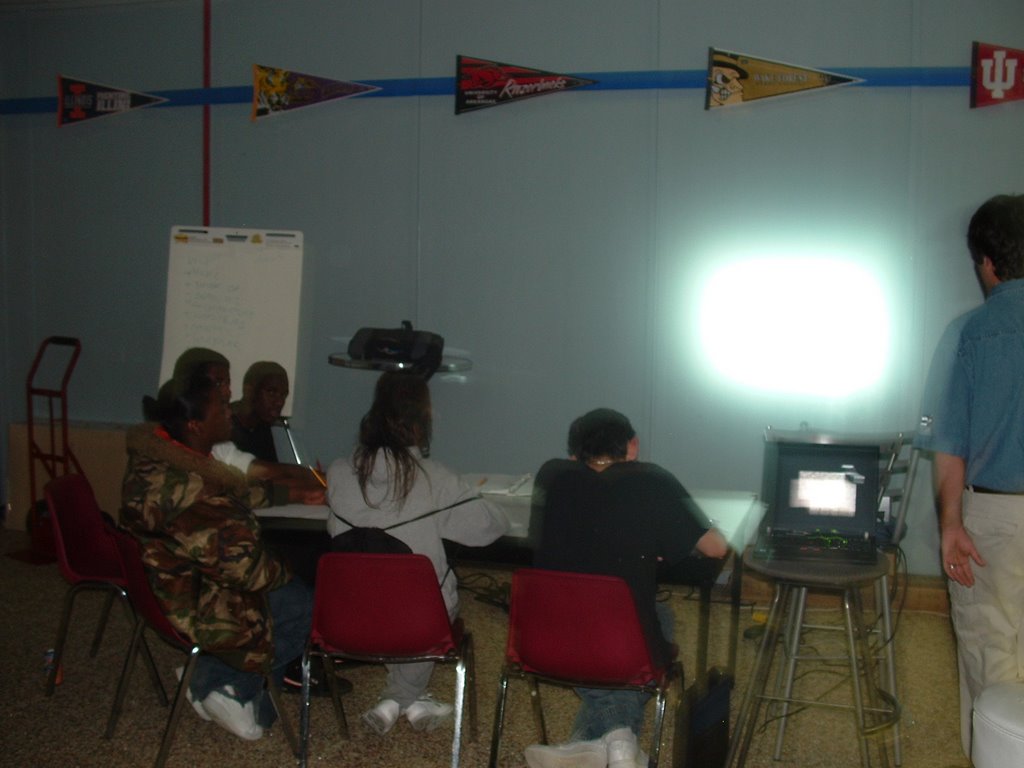
Groups Participating: Panther boy's and girl's club teens

Attendance: 6 teens

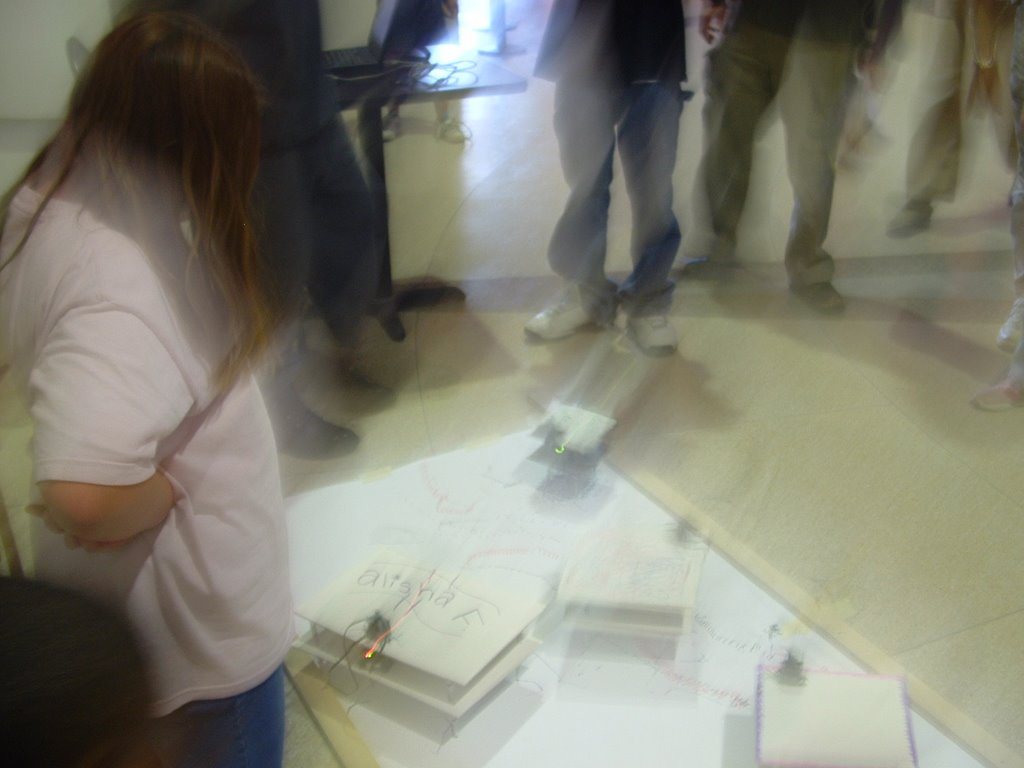
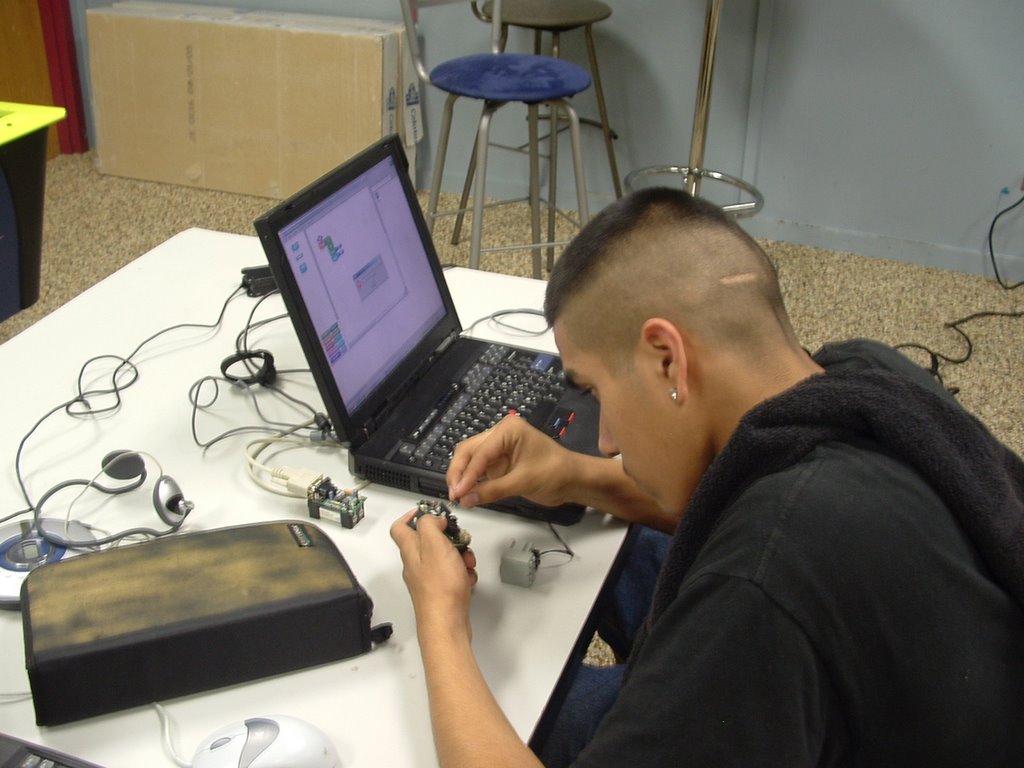
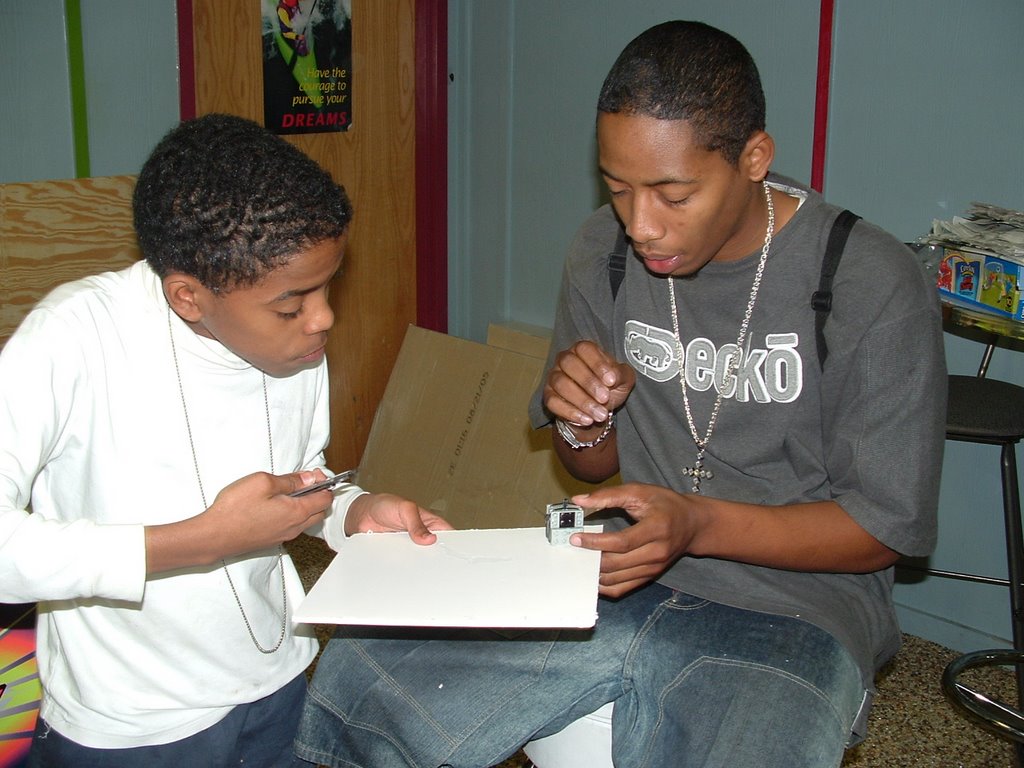
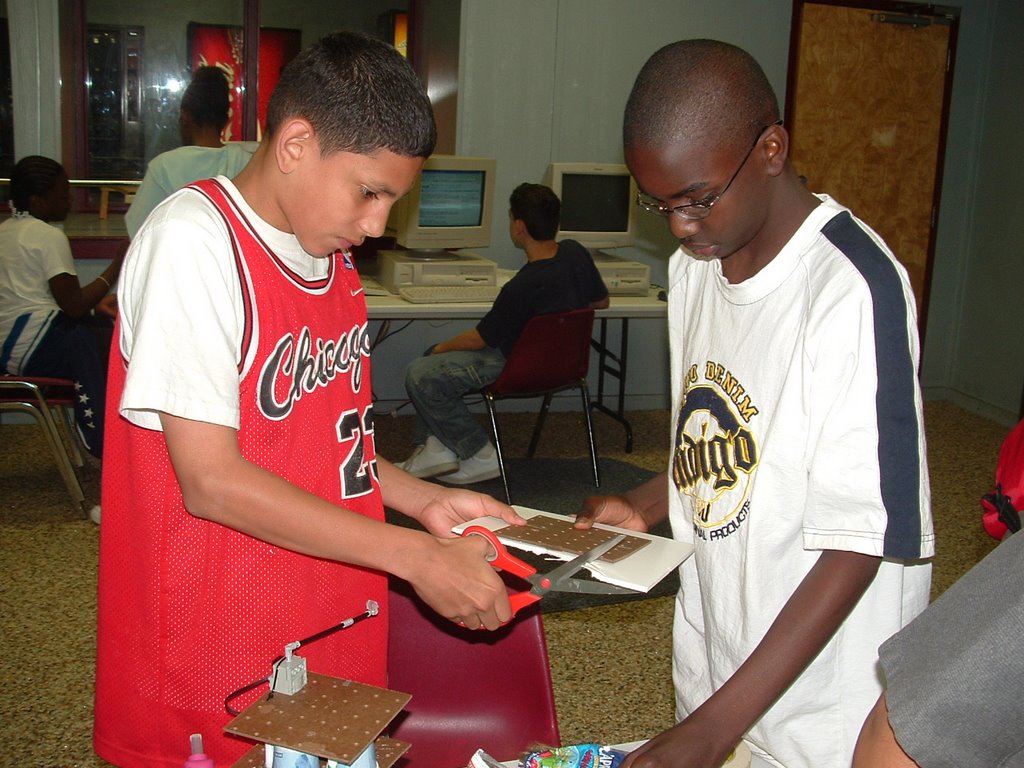
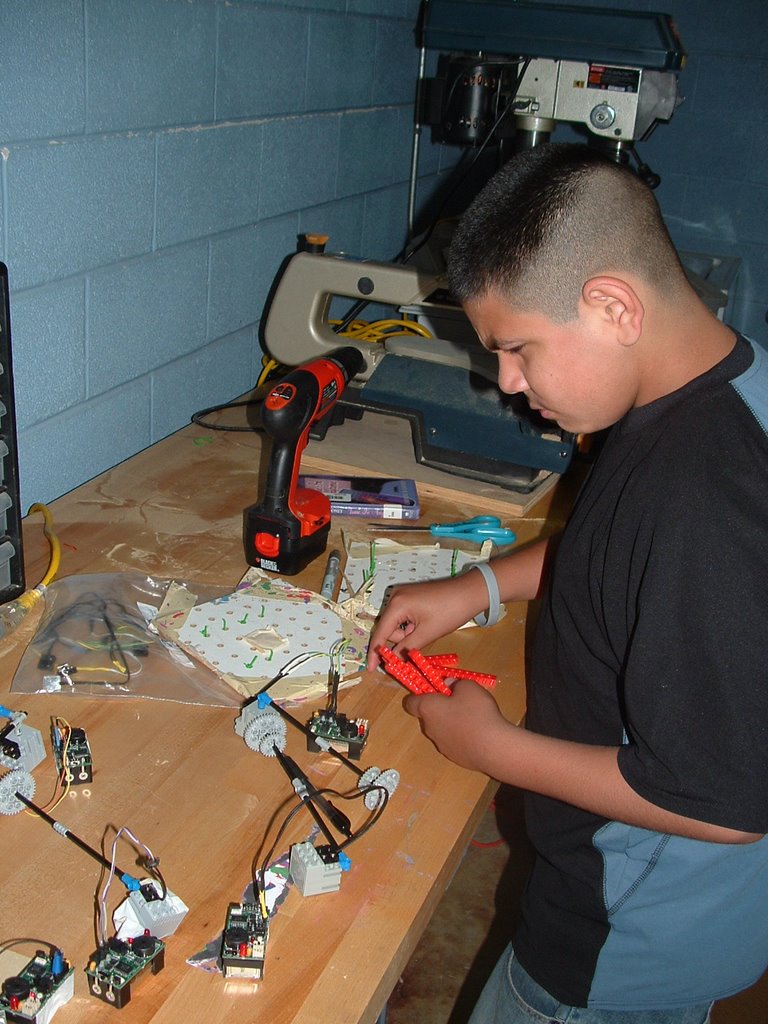
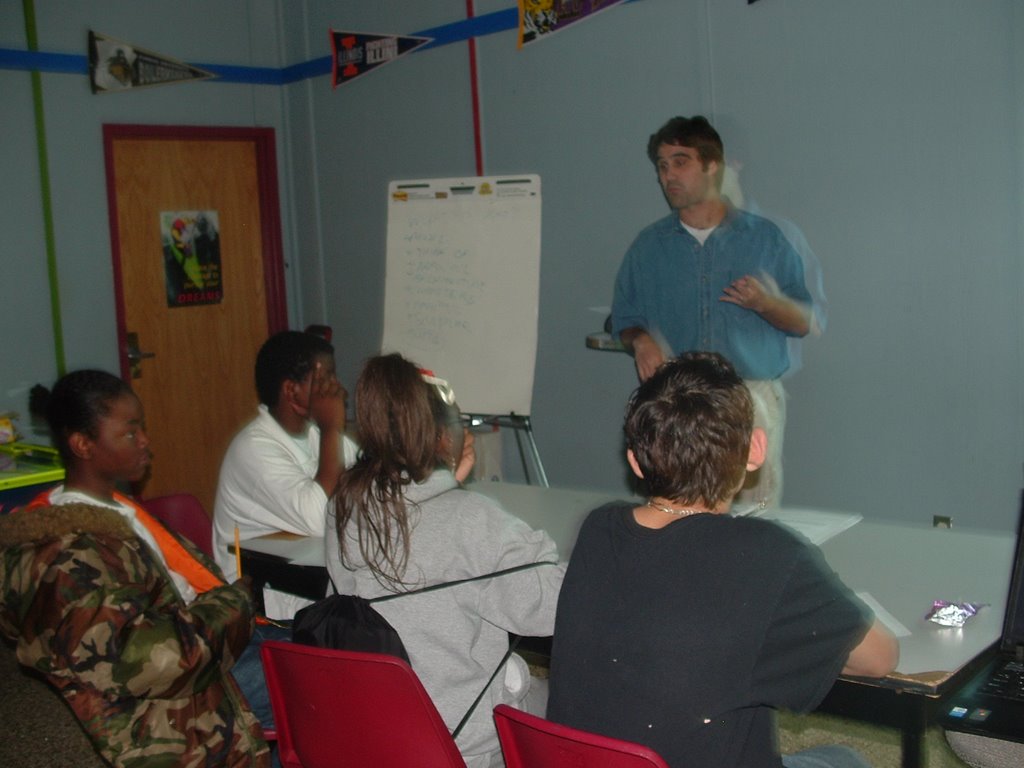
Directions: We set up 4 computers, each with transfer wires, transfer crickets, crickets, and l.e.d.'s attached. Then, after a little self guided exploration and some coaching here, the races began... I would announce to the competitors a series of colors in a particular order, then yell, "Go!". Whoever could create the series of colors the fastest would win. Jolly ranchers to the victor encouraged participation of six teens throughout the afternoon. Examples of the challenges include, from simple to complex, a police siren (red, blue, red, blue), a stoplight (green, yellow, red), a sunset (yellow, orange, red, purple, blue), the American flag (red, white, and blue), or their favorite challenge, a rainbow (red, orange, yellow, green, blue, purple). And for your eyes only as the instructor, here are the numbers to most of the colors we could think of...

white - 100 red, 200 green, 100 blue
pink - 100 red, 0 green, 20 blue
red - 250 red, 0 green, 0 blue
orange - 200 red, 100 green, 0 blue
yellow - 100 red, 100 green, 0 blue
green - 0 red, 250 green, 0 blue
blue - 0 red, 0 green, 250 blue
purple - 150 red, 0 green, 100 blue

Software: Logoblogs

Hardware: Laptops, transfer wires, transfer crickets, crickets, l.e.d. wires, l.e.d.'s

Other: Jolly Ranchers

Associated Skills: Cricket programming, l.e.d. programming

Associated Concepts: relating l.e.d.'s in everyday life (ie. cellphones, beepers) to thier own programming ability

Best part: The excitement of a win happened for everyone, and this activity forces them to quickly navigate logoblocks so the learnin' happened fast.

Panther Pride for Design IT!


As the end of the year comes closer, so does our group of teens. I've noticed some positive changes over the past 6 months that I love, and that I hope continue. One, we regularly met with the same group almost every day we held DesignIT, and were able to establish friendships that way. Two, we added more and more teens to our DesignIT team, making the membership at Pather almost the largest its ever been. And three, now they are regularly wearing thier DesignIT T-shirts to the club and to school! I am definatley proud that they are proud, and everyday am thrilled to be a part of DesignIT.

Panther Robo Art @ Family Science Night!


Attendence: the Panther teen inventors of the Robo-Art Machines

Dates: Wednesday, April 26th

Big Idea: To get the teens to explain and show off their inventions to the public at the Fort Worth Museum of Science and History's Family Science Night. We set up in the rotunda, and as visitors entered they were greeted by our teens explaining their art and how it was made.

Associated Concepts: Public interaction with presentations of thier inventions.

Best Part: I was particularly impressed with a few of the teens outgoing attitude in explaining thier work, and loved the curious crowd we drew.

Panther Robo Art


Big Idea: To Create gyrating robots which make random and colorful art patterns with their marker legs.

Dates: Monday, April 17th, Wednesday, April 17th, and Wednesday, April 24th

Participating: Panther Boys and Girls Club

Attendance: 8 Panther teens plus the Panther kids to view

Software: Cricket Logo Blocks

Hardware: Laptops, transfer crickets, crickets, motor connectors, motors, light sensors (optional), flashlights (optional)

Materials: Legos, foam board, Dixie cups, crayola markers, hot glue, glue guns, power drill, 7/16th drill bit, zip ties

Directions: Start by cutting two foam boards or peg boards of the same dimension. Connect the two pieces of board with Dixie cups fusing them together with hot glue. Drill small holes at the corners of the board to place the markers which will serve as legs for the robot. To secure the markers, hot glue them to the bottom of the the robot's top after they are fit through the holes. The zip ties are used to hold the cricket and lego motor in place. On the top surface of the robot we placed the lego motor with spinning motion modules. The spinning creates a swinging motion which makes the robot gyrate. This movement makes the robot move and dance. Once the robot is complete, the kids have a chance to decorate the top surface personalizing their creation. To test the robots tape a large sheet of paper to the floor, remove the marker lids and turn the robots on. For more programming, add light sensors to the robots and make thier movement light sensitive to flahlights. Also, the teens loved putting all the robots in a confined arena and seeing which ones would knock ove the other ones. See the pie network for our inspiration for this project:
http://www.pienetwork.org/ideas/?Idea=61&s=0&search=paint

Associated Concepts: Observing the patterns made by each different style robot and each different program.

Best Part: High attendance, great interest and involvement. The kids learned to write cricket programs which we use for most of Design IT projects. Also the battle royal between the bots when confined to small quarters. When we invited the younger kids from the club to view our work, they got the mst kick out of that. We named and numbered the bots and started betting who would win. It got nasty and exciting and very fun.

Worst Part: None on my watch.

Improvements: Adding more steps or activity challenges to the project, or bringing in more decorative material.

Panther Shadow Painting


Shadow Paintings

Dates: Monday, April 10th and Wednesday, April 12th

Groups Participating: Panther Boys and Girls Club Teens

Attendance: 5 teens

Big idea: Create 3 dimesional sculptures that caste shadows creating 2 dimensional paintings.

Directions: Each teen had an overhead desklamp above the butcher paper, a hot glue gun and various wooden materials to work with. They also started by building a wooden stand to start thier sculpture with, that being a wide, flat wooden piece with a long wooden dowel attached by being drilled and stuck into it. From thier stands they built thier shadow paintings depending on the challenge presented. Here are some challenge ideas...

1) Create a shadow painting that looks like the first letter of your name.

2) Create a shadow that creates a shape (square, triangle, rectangle, circle), however, the sculpture itself looks nothing like the shape.

3) Create a shadow that looks like your favorite animal. Then trace it on a piece of paper to keep.

4) Create a sculpture that has a shadow that creates half an image, where the other half of the image is drawn on the table itself, therefore the image is incomplete without the light.

Attendance: Panther Boys and Girls Club Teens

Supplies: Overhead desk lamps, stools (to put lamps ontop of), vices (to tighten lamps onto stools), extra lightbulbs, butcher paper, hot glue guns, hot glue, various small wood pieces, other assorted craft materials, markers

Best part: Seeing the images come alive as they worked. This activity takes time and patience, but as you can see from the pictures when kid's got going they came up with some creative images. Also, putting the final sculptures on display in our "window gallery" for passer-biers to view. Even without the shadows they turned out looking like modern art.

Hardest part: Just as when we tried this in this past, the hardest part for our group was crafting stable structures that would not bend after a certain amount of time. This part took patience and some time learning the best way to craft the structures. Another challenge was keeping the sculptures themselves interesting looking, even without the shadows. This was best done by creating the lines in your shadow image through crafting the wooden pieces at variuos unexpected planes above the table. After learning that trick the sculptures started coming alive.
Improvements: Allow plenty of set up time, bring extra lightbulbs in case they burn out, and don't forget to give a quick reminder about the safety issues with glue guns.

Panther Spin Art


Big Idea: Create spirals and shapes from paints and markers using crickets to spin the canvas.

Dates: Wednesday, March 29 and Monday, April 3rd

Groups Participating: Panther Boys and Girls Club

Attendance: 6 teens plus Panther kids visiting

Software: Cricket Logo Blocks

Hardware: Laptops, crickets, transfer crickets, lego motor and motor connectors.

Materials: Legos, peg boards, foam boards, drill, exacto knife, wire ties, crayola markers, squeezable paints,

Directions: Start by cutting a piece of peg board and foam board of the same dimensions. The two pieces of board should be connected by motion module spinner. Tape a piece of paper to the top board, turn cricket on and begin to to create. Take markers and touch them to the spinning paper or splatter paint onto the canvas for a more experimental design.

Associated Concepts: http://www.pienetwork.org/a2z/s/spinart/

Improvements: Something thought of later by a father at Northside, we did not have boxes to put the spin art machine in when attempting to use paint as a medium, so it got messy. Its best when you introduce paint on the final day of spin art to bring large boxes to put the machines in so the teens and kids can get as messy as they want.

Best Part: By bringing in an example of a spin art machine, then breaking it down and showing them what it was made of and how it was built by other teens, it presented a challenge they all immediately got into. We built 7 machines total. Also, it was a blast when we invited the kids from the club in to try them out.

Northside Robo Art

Big Idea: To Create gyrating robots which make random and colorful art patterns with their marker legs.

Dates: May 16th and May 18th

Groups Participating: Northside Boys and Girls Club

Attendance: 28 kiddos

Software: Cricket Logo Blocks

Materials: Legos, logo motor, foam board, Dixie cups, crayola markers, hot glue, drill, zip ties

Directions: Start by cutting two foam boards or peg boards of the same dimension. Connect the two pieces of board with Dixie cups fusing them together with hot glue. Drill small holes at the corners of the board to place the markers which will serve as legs for the robot. The zip ties are used to hold the cricket and lego motor in place. On the top surface of the robot we placed the lego motor with spinning motion modules. The spinning creates a swinging motion which makes the robot gyrate. This movement makes the robot move and dance. Once the robot is complete, the kids have a chance to decorate the top surface personalizing their creation.
To test the robots tape a large sheet of paper to the floor, remove the marker lids and turn the robots on.

See the pie network for our inspiration for this project:
http://www.pienetwork.org/ideas/?Idea=61&s=0&search=paint

Associated Concepts: Observing the patterns made by each different style robot and each different program.

Best Part: High attendance, great interest and involvement. The kids learned to write cricket programs which we use for most of Design IT projects.

Worst Part: The teens at Northside are fast learners and finished their projects fairly quickly.

Improvements: Adding more steps or activity challenge to the project.


Monday, May 22, 2006

Northside Spin Art

Big Idea: Create random works of art, using crickets to spin the canvas.

Dates: May 9th and May 11th.

Groups Participating: Northside Boys and Girls Club

Attendance: 25

Software: Cricket Logo Blocks

Materials: Legos, peg boards, foam boards, drill, exacto knife, wire ties, crayola markers, squeezable paints, transfer cricket, lego motor and sensor connector.

Directions: Start by cutting a piece of peg board and foam board of the same dimensions. The two pieces of board should be connected by motion module spinner. Tape a piece of paper to the top board, turn cricket on and begin to to create. Take markers and touch them to the spinning paper or splatter paint onto the canvas for a more experimental design.

Associated Concepts: http://www.pienetwork.org/a2z/s/spinart/

Best Part: The kids love any project dealing with art, which helped boost our attendance. Once a few of the teens had finished there spin art, their finished projects helped draw in others.

Worst Part: Not having anticipated a larger group left us short on art supplies.

Improvements: Not each kid needs to make a spin art table. It helps to have them working groups if there is not an abundance of supplies. Even if each kid does not have an individual spinner, they will still have a chance to create their own masterpiece.

Northside Spin Art Gallery


Wednesday, May 10, 2006

Art Cycle Intro: Art Interpretation Activity


Thus far, the art cycle has been a complete success, each activity drawing more teens than ever this year, most of whom return every Monday and Wednesday expecting to find something new to try. Here is how our introduction activity for the art cycle went, the Art Interpretation Activity...

Big Idea: Get the teens thinkin about the depth of art in its various styles and themes of each piece, plus get them excited for the potential creativity they are capable of with the upcoming cycle.

Dates: Monday, March 27th 2006

Groups Participating: Panther teens

Attendance: 6 teens including Eddie, Angel, Jonathon, Jarvis, Cedrick, and Tikiah

Hardware: laptop and digital projector

Materials: Paper and pens for each teen

Directions: Before we got into the slides, the first thing I did was ask them this question, and here were a few answers...

Q. What is Art?

A. Something that someone makes or do!

A. Something you think about.

A. Color, drawings, music

A. I don't know

After that, I asked them to list differant artforms, and they listed drawing, painting, music, sculpture, dance. Finally, like past art interpretation activities, we took about 17 slides of various pieces of art by various artists and, 5 slides at a time, asked them various questions about the pieces and had them write thier responses. After each slide we shared our thoughts with the group. Here were the questions...

1) What is the first word or few words that immediately come to mind when you see this piece?

2) What emotion do you feel when viewing this work of art?

3) What story do you think this work of art tells?

Associated Concepts: Group discussion and sharing of various ideas and philosophies, and stimulating creativity and interpretation of art.

Best Part: Some teens shared some unbelievably intelligent and intense responses, and really got into the excersice. My favorite responses were from Picasso's "War", pictured above, including "People dying so they sad." and "Its telling me what they been through".

Worst Part: That I can't do this activity with every teen in the world.

Improvements: Just make sure to show up early before the teens arrive, so they are curious when they enter the room.