Wednesday, June 21, 2006

The Turtle Game

Big Idea: Get the teens to learn code language in an entertaining way...

Dates: June 20th, 2006

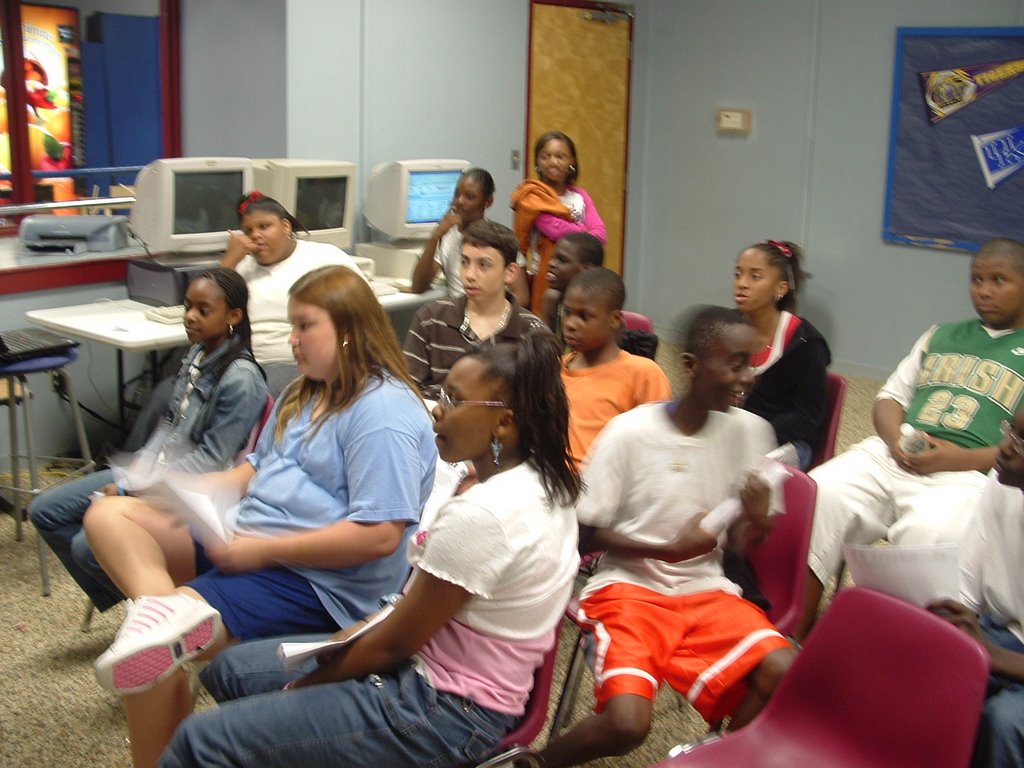
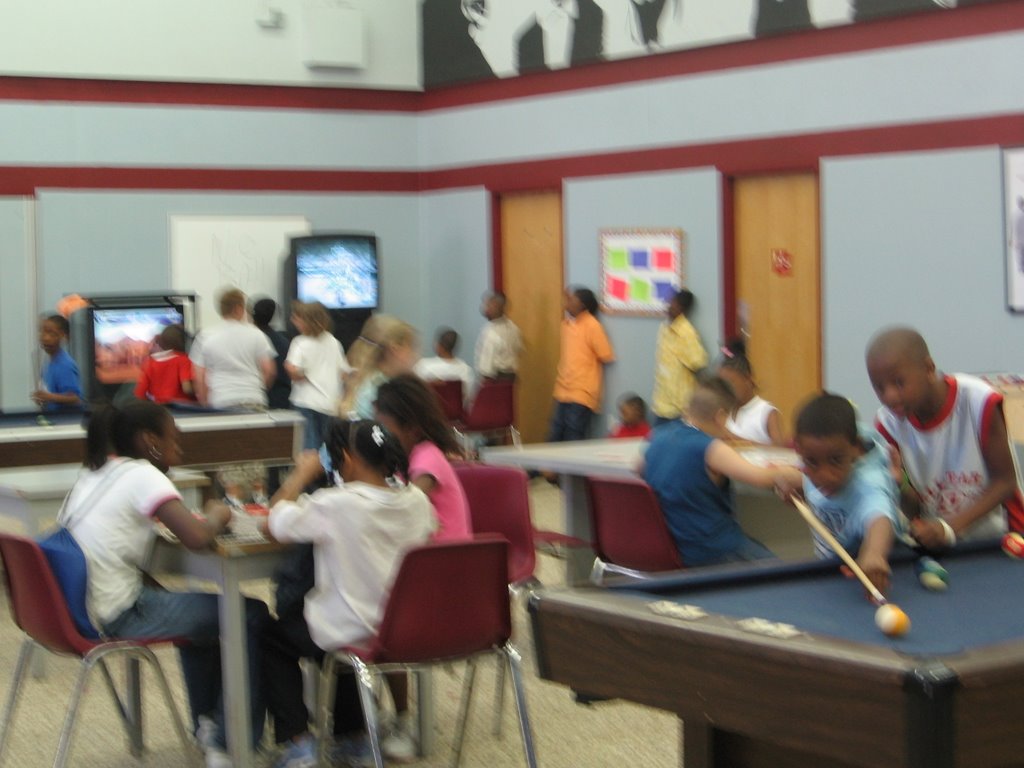
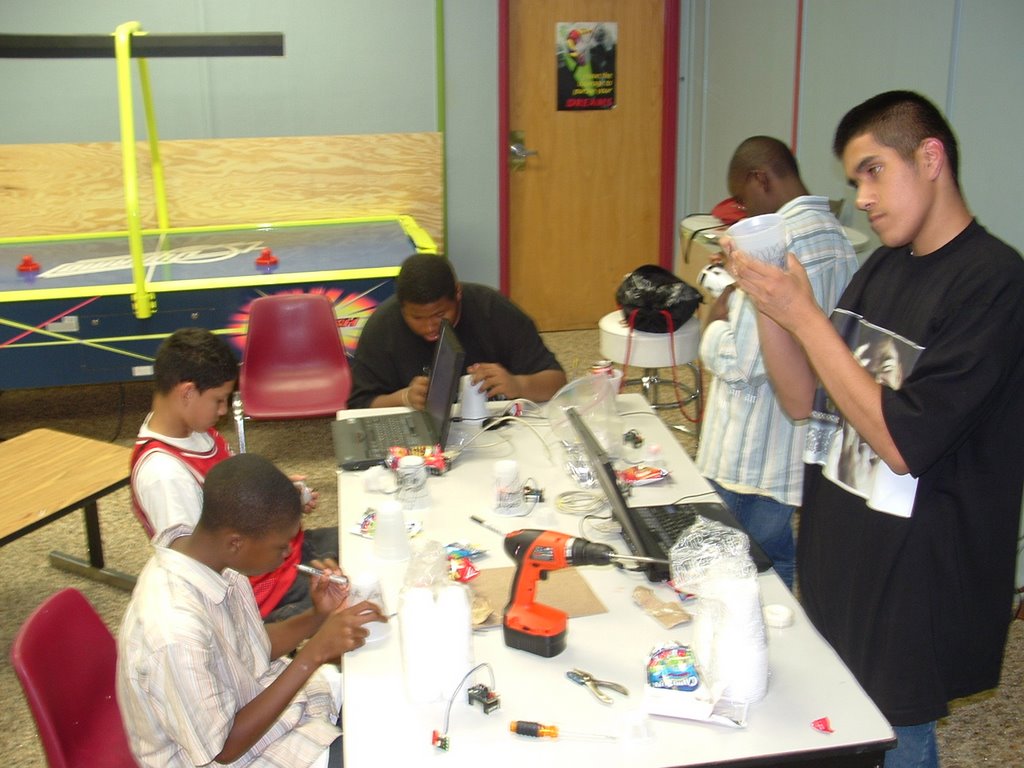
Groups Participating: Summer Institute Teens

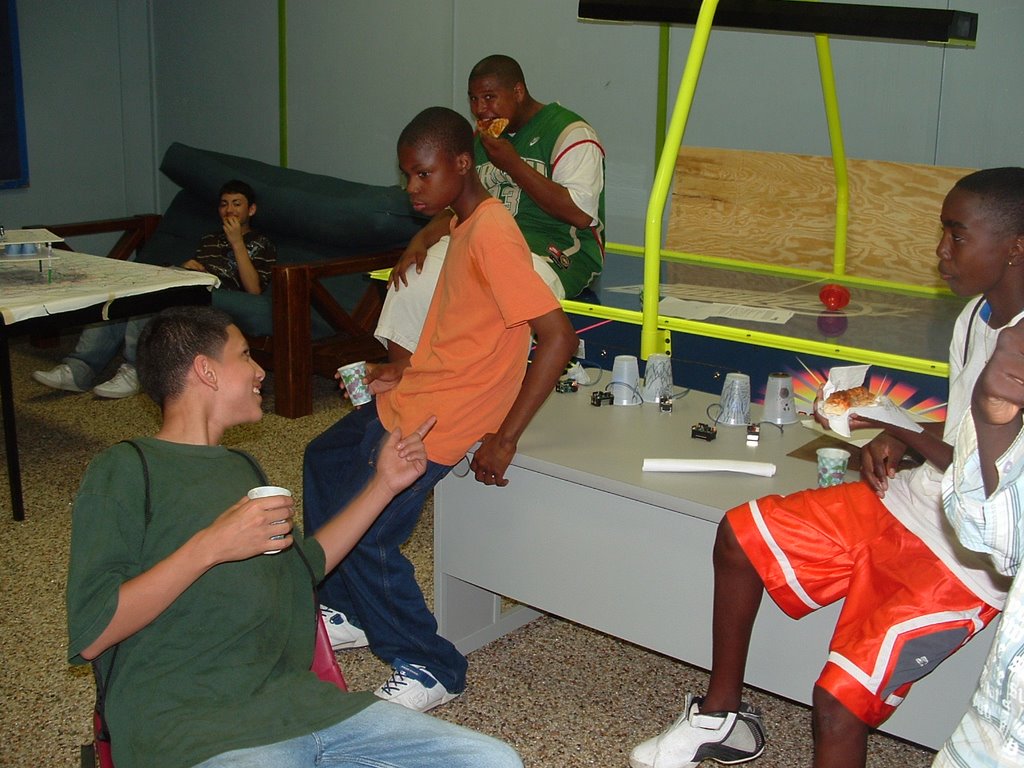
Attendance: Myself, Gabe, Crystal, and Rebecca, Ashley, Meleny, and Caroline from ALA and Marcus and Joshua from Panther.

Materials: Clear cups (at least 6), red cups (at least 6), and one blindfold.

Directions: This game is awesome...Establish a field of play using four boundary markers (we used four red cups) about the size of a classroom. One person stands inside the boundries and is blindfolded. The rest of the players line up at the edge of the boundries and stay in order. The person blindfolded in the middle is the turtle. Place a cup with stars drawn on it far from the turtle. The goal of the turtle is to make its way towards that goal (the cup). However, the turtle cannot move without properly stated directions from the computer: thier teammates. The directions must be given in order, one person at a time, and correctly (ie. "forward 5" is "fd 5" or "right 90 degrees" is "rt 90", ect.). Once the direction is given, it cannot be withdrawn. To make it challenging, we added various obstacles to navigate the turtle around, including red cups that were "landmines", where if stepped on it, it "cleared graphics", or, you had to start over. Also, unmarked cups were "bk 5's", where if they were stepped on, the turtle had to move back 5 steps. Once the entire team has had a chance to retrieve the goal, the team wins.

Associated Concepts: Its a fun way to practice understanding the programming language used in Microworlds.

Best Part: When someone got within inches of a landmine, everyone freaked out.

Improvements: That we didn't start playing this game sooner, its a blast, and I highly recommend taking a half-hour out of the lesson plan to play. The teens love it.

Panther Final Party of 2006


Big Idea: Display the teens art and projects they created during the Art Cycle, get them information about Summer Institutes available, possible paid summer internships, let the 6th graders know about DesignIT Studios for next year, and draw for and give out the free Nano I-Pod (which Jazmine won and nearly cried when gettin it)!

Dates: Wednesday, May 24th

Groups Participating: Panther teens, including sixth graders, and panther kids.

Attendance: At least 15 teens and lots of kiddos.

Directions: Not only did we provide pizza to draw in the teens and sixth graders to get them info about Summer Institutes available, possible paid summer internships, and DesignIT Studios for next year, but after they ate, we had the teen members man stations around the teen room to show-off thier spin art machines, robo art-bots, and night lights.

Associated Concepts: Get the teens to confidently show of and discuss thier inventions with others.

Best Part: How excited 6th graders were about being in DesignIT next year.

Worst Part: Saying goodbye. This was my last day at Panther for quite a while, and possibly the last time to see some of our teens I've watched grow up and hopefully helped have fun while learnin a bit.

Improvements: Just be sure to come and set up early for culminating events like this, you can never prepare enough.

Panther First Street Audio Field Trip


Big Idea: This trip is best taken during the sound cycle, but since we could not scheduale at that time, and my band was recording that week in the studio, I contacted Bart and arranged the trip for my Panther teens. It is meant to show the teens possible IT careers in the music industry behind the scenes.

Dates: May 22nd, 2006

Groups Participating: Panther teens

Attendance: 8 teens

Directions: Be sure to contact manager Bart Rose to scheduale a 1/2 hour to hour time slot. Have him give him a tour of the mix and mastering studio and the recording rooms, then possibly arrange for him to record each of their voices into a min to see what thier voices look like in pro-tools, hear what they sound like, then hear them when he distorts them. After the tour, discuss all the diffeant possible jobs involved in recording.

Associated Concepts: To see the various tools a recording studio uses similar to what we've used in DesignIT, and to get an idea of various IT careers there are in the field.

Best Part: When the teens got to hear a song in the process of being mixed from our CD (Standard Transmission's "Water's Edge") They loved it and loved to see where music was actually created.

Improvements: We ran outta time. Be sure to scheduale enough time to do some activities with Bart like the ones listed above.

Friday, June 16, 2006

Panther Throwies


Big Idea: This project can work in either the circut cycle or the art cycle, but when used done .together in high quantity, it is definately a collabritive work of art. Strays from programming, but is definately a fun, interactive art experience.

Dates: Wednesday, May 17th

Groups Participating: Panther teens

Attendance: 4 teens

Materials: various LED's, watch batteries, tape, (see website for specifics)

Directions: see...

www.graffitiresearchlab.com/?page_id=6

or

www.instructables.com/ex/i/7DBB34EAEDFF1028A1FC001143E7E506/?

As you see, its an exciting collabritive art, and the teens get into it. Simply 2 suggestions. First, try to scheduale this activity in the late fall or winter so it getsd dark early and you can see the full effect of your work. Second, a perfect spot for Panther to toss them is just outside the front door onto the rain cover above the entrance walk way. I would love to see the entrance glowing with thowies someday.

Associated Concepts: circuts and LED's, and getting them to understand two artforms, collabritive art (art created by a group) and gorilla art (public art created where the artist does not take credit).

Best Part: The throwing. The teens had a blast.

Improvements: Simply that it needs to be done in the winter when it gets dark early, and the more throwies that are made, the better your collabritive art will look.

Wednesday, June 14, 2006

Photo Stories at Panther


Big Idea:
Educate the teens in a fun, challenging way on how to properly use the digital cameras, download thier photos with a USB cable or card reader, use a thumb drive to transport the photos, and finally label and arrange them into a slide show.

Dates: Monday, May 15th

Groups Participating: Panther teens

Attendance: 8 teens (4 on each team)

Hardware: 1 digital camera per team, 1 laptops per team, universal card reader, USB cables, computer with the digital projector, thumb drive

Directions: Have the teens seperate into teams of no more than 4. Explain that this is a "photo story telling competition" (competition always gets teens motivated). Have the teams determine a certain order 1 to 4 of who on thier teams will go first to last. At this point, before the game begins, take time to discuss with the teens what makes a good photograph, with examples of good photos verse bad photos on the digital projector, such as being in focus, composing it straight and not crooked, having a subject matter, correct lighting, when to use a flash, ect. Also at this time, show the enire group how to shoot a photo, load the photo onto the computer into a new folder you create, then also show them how to use the thumb drive to transport thier photos, explaining their team will have to do this in the game. Then explain the rules...

Each teen will take the digital camera by themselves and have 5 minutes to take 5 photos of anything they want in the club. When they return, they pass the camera off to the next team mate. When all 4 teens have taken thier 20 shots, they then download thier images. After they are downloaded, they have 15 minutes to arrange 10 to 15 of thier images in an order that tells some kind of story. When both teams are done, have them use the thumb drive to transfer thier photos to the computer with the digital projector, then present like this...

First go through one team's slides twice, and have the opposing team try to guess their story line. Then, have that team explain what their storyline actually was. Then switch as see which team got the storyline the closest.

Associated Concepts: Again, how to properly use the digital cameras, download thier photos with a USB cable or card reader, use a thumb drive to transport the photos, and finally label and arrange them into a slide show, plus discuss what makes a successful phtotgraph.

Best Part: The stories the teens came up with were hysterical, almost abstract. (Above are some examples of the teens photos for this project).

Improvements: Any improvements I thought were needed were things I did not think of doing until I wrote this blog, so I wrote them into the directions for next time this activity is done, which should help the teens learn about the steps of how to shoot and download. While you have the groups attention BEFORE the game is when you should go over the steps on the projector with the group.

Monday, June 12, 2006

Panther Night Lights


big idea: get the kid's into cricket programming by constructing thier own night lights. the activity requires l.e.d. programming proficiency and encourages individual artistic creativity.

date: monday, may 8th and wednesday, may 10th

groups participating: panther boy's and girl's club teens

attendance: 8 teens

materials-

software: logoblocks

hardware: laptops, transfer wires, transfer crickets, crickets, bus cables, l.e.d.'s

other: hole punchers, scotch tape, 1 black sharpie per student, at least 4 plastic translucent (fogged) shot cups per student, and at least 4 translucent (fogged) picnic cups per student

directions: drill hole in bottom of two shot cups. tape them bottom to bottom and secure l.e.d. through both holes therefor making an l.e.d. stand. tape third shot cup over exposed l.e.d. finally draw a negetive drawing on outside of large cup and place over l.e.d. stand (see www.pienetwork.org/a2z/n/nightlight/ for details).

associated skills: cricket programming, l.e.d. programming, craft and drawing skills

associated concepts: relating l.e.d.'s in everyday life (ie. cellphones, beepers) to thier own programming ability, confidence in creating a work of art

best part: high fivin' after final product works for the first time

hardest part: as usual, getting them started, but having an example for this project when you walk in is key.

Monday, June 05, 2006

Panther Tour of the FWMSH for an Art Field Trip

Totally blanked on blogging this field trip, but its a great one for the middle of the Art Cycle. Check it out...

Big Idea: Take the teens to the museum for a behind the scenes tour and test thier skills in identifying art to reinforce the teens understanding of various art mediums, to show how art is used in the real world at a commercial and educational level, to introduce the teens to potential careers if pursueing the arts, and to have the teens see parts of the museum other patrons never get to see and understand what our employees do there.

Dates: Wednesday, April 5th

Groups Participating: Panther Teens

Materials: Clipboards, pens, and the questionaire.

Directions: We started in the DesignIT lab, and as they ate thier snacks, I asked them to look around the room to name an example of each of the following...
A painting, a sculpture, a photograph, and a computer generated art.
That got thier minds going the direction the rest of the afternoon would go. So next, simply print out the questionaire below (delete answers provided for blog), and take them into the depths of the museum for a tour, and have them answer the questions for an in depth look at how our artists work to build the various exhibits we display. Again, below are questions to print, but I've provided some answers our teens gave...

Museum Tour Art Questionnaire

Collection Library
-Name the 3 coolest objects you saw in the collections gallery…

A. A dead bird
A. A dead Bear
A. Spiders in a jar

-Of the 3, choose the most interesting object or an object you have a question about and present it to the group…

A. The black widow cause they can kill.

The Wood Shop
-Name 3 tools you saw in the wood shop you have used in Design IT…

A. Hand drills
A. Scroll saw
A. Sander

The Exhibits Shop
-Guess what the giant vent and fan used for?

A. Paint

Explorazone
-Name one thing in this gallery that is a…

-painting - A. Sand Painting

-sculpture - A. Chaotic Pendalum

-photograph - A. Photos that change color in light

-computer generated art - A. Color Contrast game

Risk
-Name one thing in this gallery that is a…

-painting - A. Picture on wall that says "Risk"

-sculpture - A. Biulding with steel beam

-photograph - A. Photos of workers

-computer generated art - A. Photo looking down below steel beam

Associated Concepts: Again, to reinforce the teens understanding of various art mediums, to show how art is used in the real world at a commercial and educational level, to introduce the teens to potential careers if pursueing the arts, and to have the teens see parts of the museum other patrons never get to see and understand what our employees do there.

Best Part: Either the collections library (in the Kids Space closet), taking them through the Wood Shop to below the Omni to see the boiler room, or taking them through the Exhibits Shop and up the stairs and having them guess where we were in the museum before we opened the door. They all got it wrong.

Improvements: Needed a little more time so we could have shared our at the end.